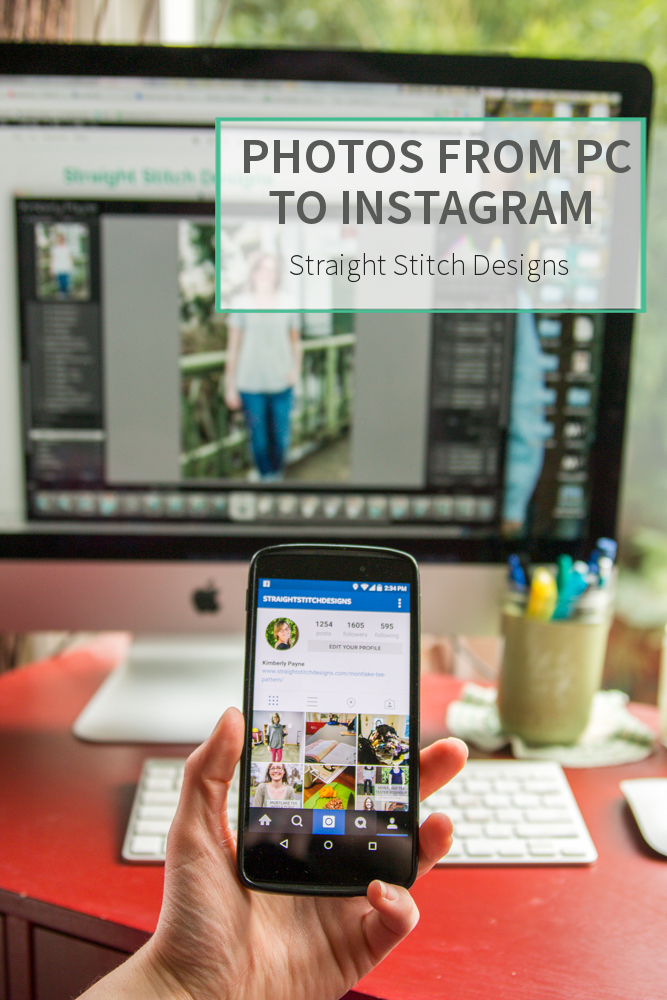
Uploading photos from your PC to Instagram can be frustrating to say the least. There are many third party programs out there that advertise the ability to upload photos to Instagram from your computer, but after trying many different ones I just never found one I liked. They were either always buggy or the interface annoyed me.
About 6 months ago I figured out a really easy system for doing it and I am finally sharing it with all of you. It does require a couple different steps but now that things are set up and it is a habit I don’t even think twice about it. All of these steps were done on an android phone so there is a chance that the steps might be slightly different on an iPhone.
I try to do all of my blog photo work and promo material at the same time, so when I am editing pictures for my blog post I am also choosing post preview images and Instagram content. With limited time to work on things I try to be organized to maximize the amount of work I can get done.
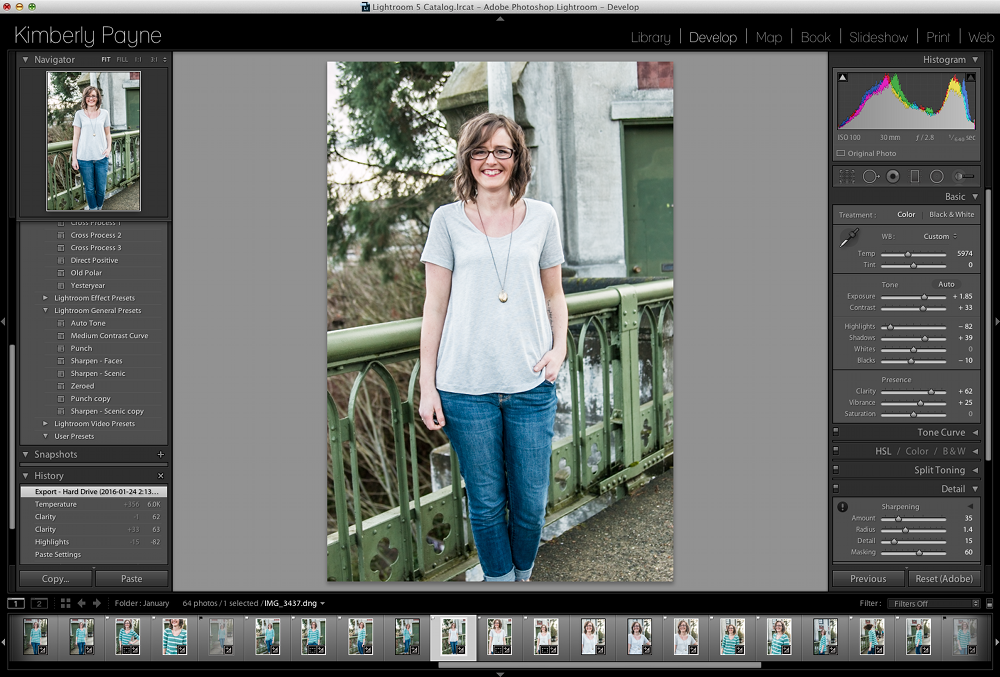
Once I have exported my blog photos to their usual home I export the Instagram picture to a slightly different place so that it is accessible from my phone or tablet. Believe it or not I have found that Dropbox is the key to uploading photos from your PC to Instagram.
Here are the steps I found to work. It may look like a lot but some of this is just setting everything up and it will be even quicker in the future.
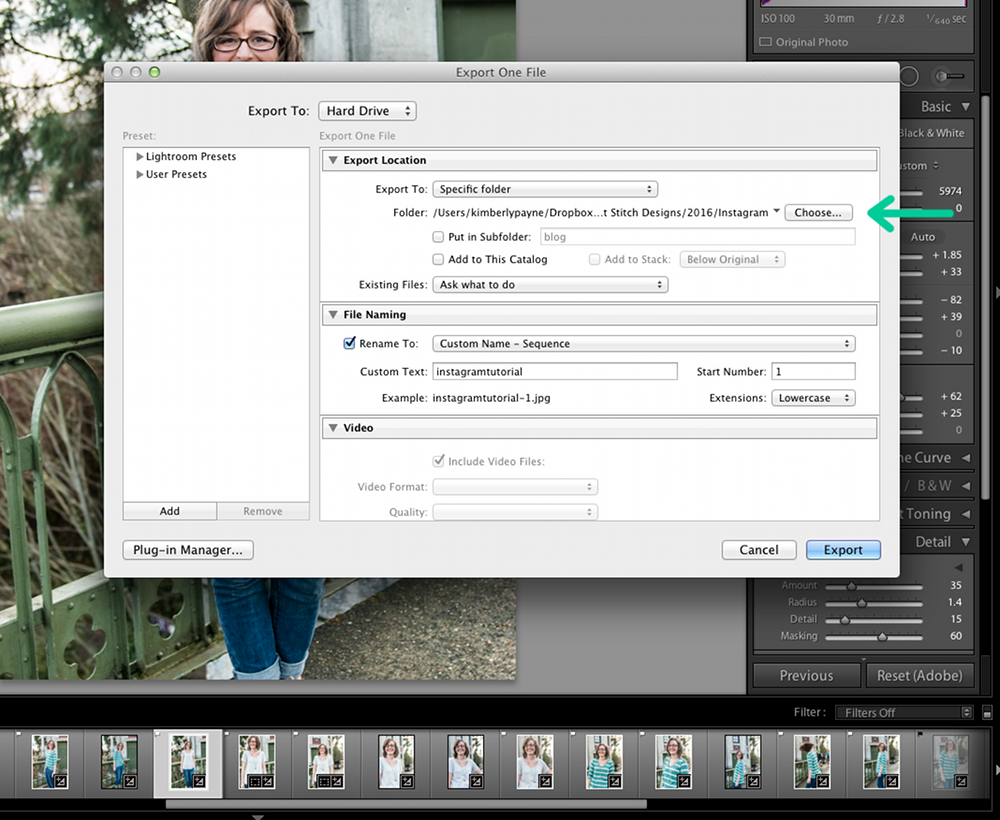
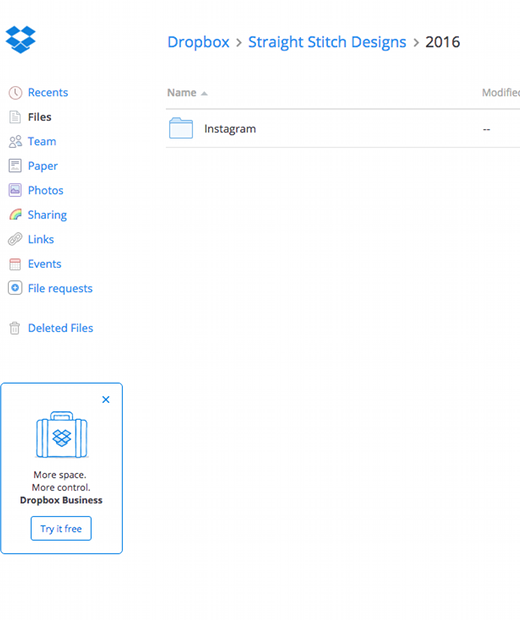
- If you don’t have a dropbox account you can sign up for free here. Once you are all signed up just create a folder within dropbox where you would like to export your photos.
2. Now go to your editing software of choice and export the photos you would like to use for Instagram to the folder you just created.
For the second half of the process we will be using your phone.
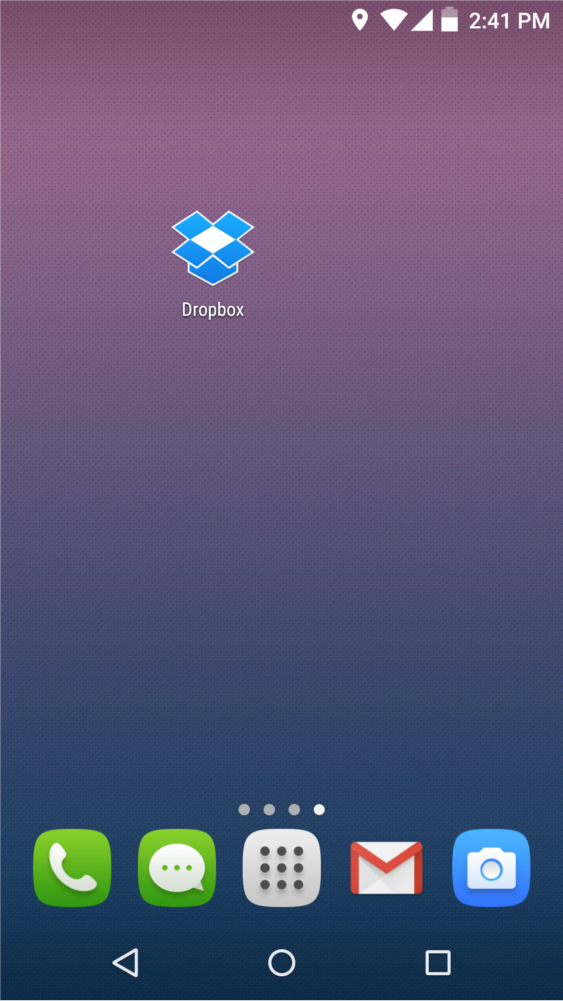
3. Open up the Dropbox app. If you don’t have it, you can find it in the app store for your phone, it’s also free.
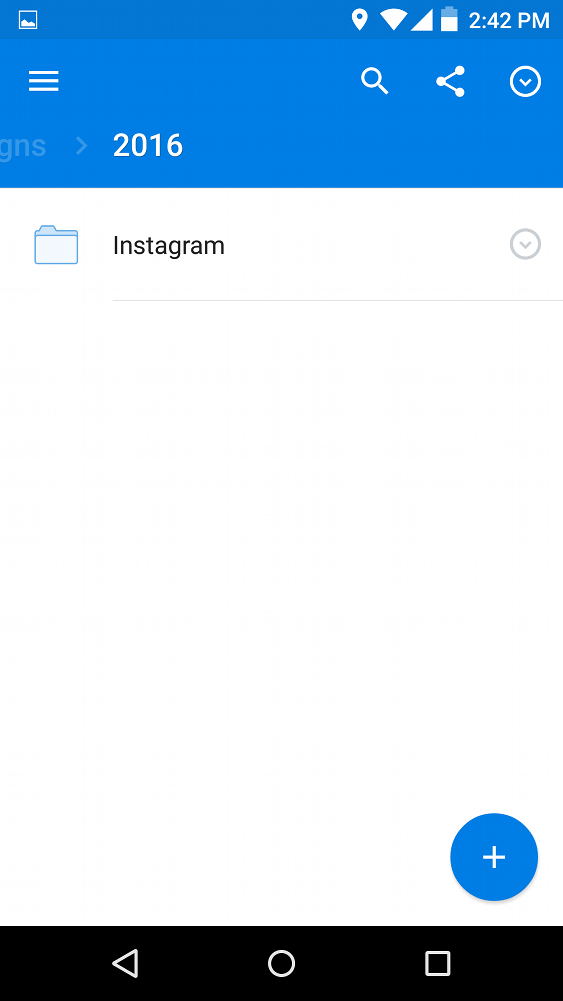
4. Locate the file you created for your photos and open.
5. Once it is open you can click on the picture you would like to upload to Instagram.
With the picture open you need to click on the box with the arrow in the bottom right corner. This will open the photo in your default photo gallery.
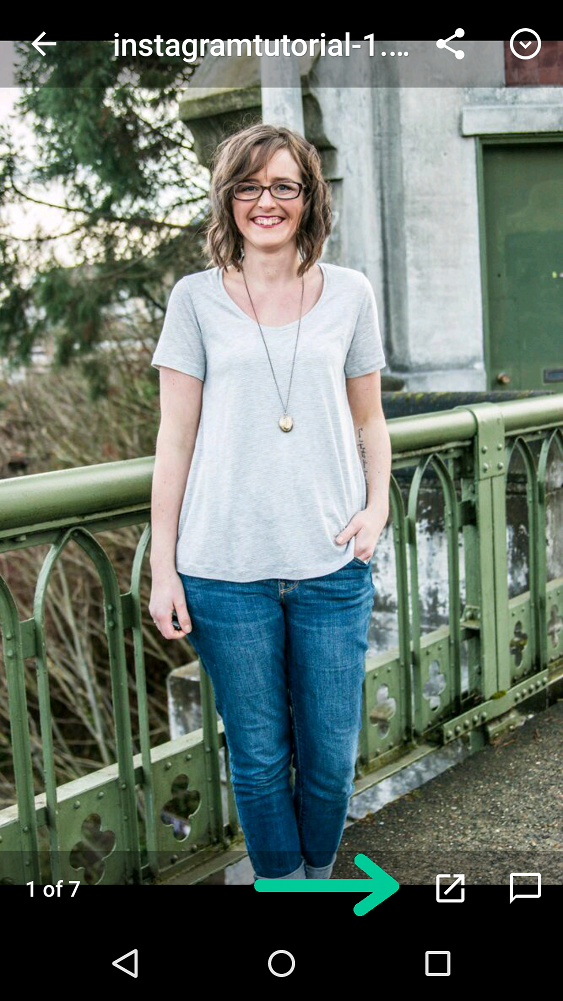
6. Now the photo is ready to be posted on Instagram! Just click on the symbol at the bottom and select Instagram from the drop down menu.
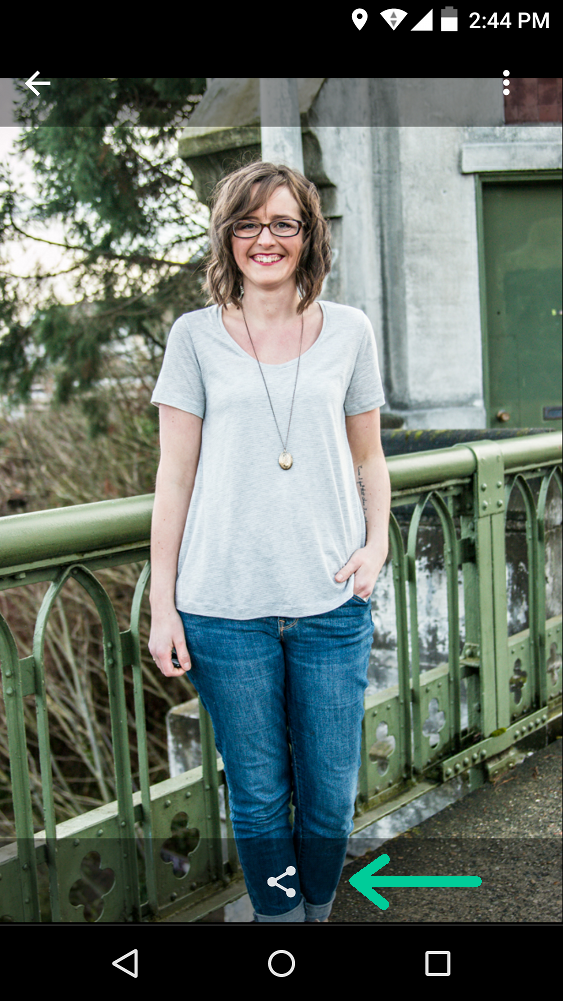
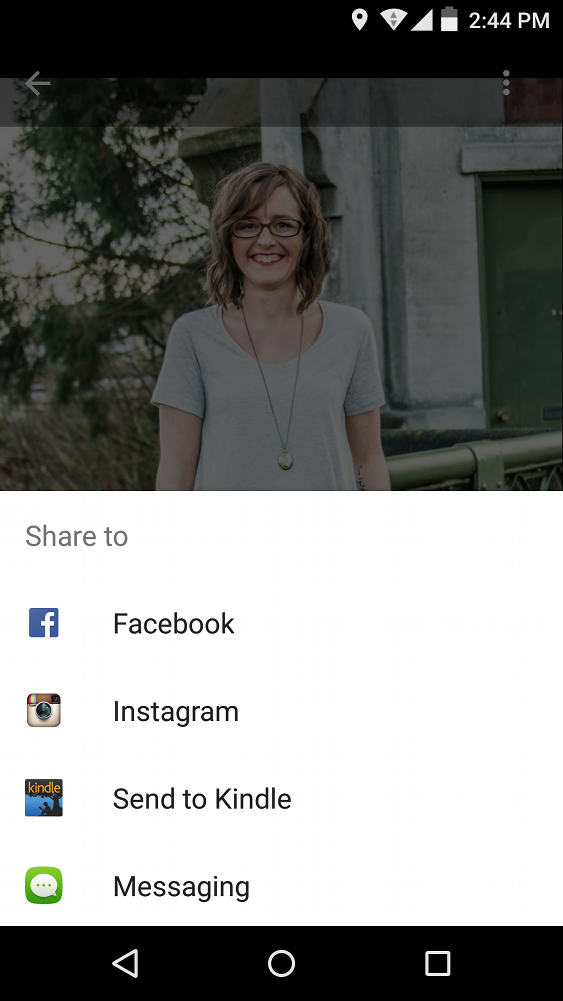
7. You are now in the Instagram app so post to your account as you normally would!

I tried to be as detailed as possible for you, but if you have any questions please let me know.
Happy Instagramming!!

I’ll have to give this a try. Thanks for sharing.
If you have an android phone you can use Google photos to do the same process, that’s what I do, as anything added to Google photos is really easy to access on my phone
I also have an android phone, and I do a very similar process using Google Drive – thanks for sharing this!