I am so happy to have Becca joining us today to share some pointers on where to even begin when working on a custom fit for your handmade garments. One blog post is not enough to really teach you all what you need to know, but I hope this will get you thinking about the things you can do to get a better fit on your garments. And make sure to head over to her Facebook page where the over 6,000 members are literally just waiting to help you get a great fit. It has been the best group I have ever joined for fitting and pattern knowledge.
Hey SSD readers! I’m Becca, sew-blogger and fashion enthusiast behind the blog Free Notion. I started sewing for myself in 2014, more or less the same time my toddler pulled her “mama-made” strike. If my daughter wouldn’t be a willing recipient of my sewing efforts, I figured I would be instead!
Only.. everything I made, I ended up hating, too.
At the time, I thought there was a problem with the fabrics I used. Or my skill level. For a while I even jumped on the bandwagon and blamed designers themselves for my poor fit. But ultimately – I didn’t need a scapegoat, I needed to learn how to sew for my body.
When Kimberly asked me weeks ago to guest blog an intro to fitting, this was the time I immediately revisited in my mind. What kind of fitting advice would I offer 2014-me? How would I set her – the beginner women’s seamstress – up for success?
So I’ve thought on it a while, and this is the list I came up with:
-
Recognize “Fit Red Flags”. You’ll never master (or even just advance) in the world of fitting if your only requirements are “I can pull it on, and it doesn’t fall back off.” Poor fit looks like:
-
Have tight/pulling fabric
-
Have distracting “drag” lines
-
Puddling fabric
-
Indecent exposure
-
Limit your usual range of motion
-
Hang off your shoulders
-
You need to pull/tug at them to stay on, or stay put.
-
-
Learn to pick the RIGHT SIZE garment. This is a two part problem:
-
Look at the size chart, not the size. Ego has no place in a well fitting garment. We don’t sew a size because “that’s the size I buy at the store!” or “That’s the size I wish I was!” or even “That’s the size my bust measures! (Nevermind that my waist and hips are a few sizes bigger…)” We blend sizes as needed to fit each measurement.
-
Length measures are every bit as important as width measurements! It took me more than a year to even consider this, and it’s an absolute game changer. All that size blending above only helps us out if they actually line up with our bust, waist, and hips. Knowing your length measures (like: vertical trunk, inseam, neck-to-bust-point, bust-to-waist, waist-to-hip) takes all the guesswork out of where to to add/remove length in a pattern piece to ensure it fits you. Length Adjustments can be made anywhere on a garment, not just where there are designated lengthen/shorten lines!
-
-
You don’t know what you don’t know. So surround yourself with people or resources who do! Sloping shoulder adjustments are impossibly easy – once you know the words to google. Here’s a list – from head-to-toe – of the most common fit adjustments.
-
(Forward) Sloping Shoulders
-
Broad/Narrow Shoulders
-
Full/Small Bust Adjustments
-
Full Belly Adjustment
-
Swayback (Shirt/Dress)
-
Swayback (Pants)
-
Full/Flat/Low Butt Adjustments
-
Flat/Round Pubis
-
Bulging Thighs
-
Knock Knee / Bow Leg
-
Large Calves.
-
-
Once you know your adjustments, it’s important that you tackle as many of them as you can before you’ve cut into fabric. (I call this a “pre-muslin”) This saves time and materials – and streamlines identifying other fit adjustments your specific garment requires.
-
Once you’ve muslined your garment, adjust fit systematically: Starting from the top, down. (NO EXCEPTIONS!) Fit errors often have a “trickle down” effect – causing other problems all the way down to the hem.
-
Remember, “Perfect is the Enemy of Good.” Don’t let the quest for a well fitted wardrobe blind you to the improvements you’re making as a seamstress! Clothing is meant to be worn (that’s an action word, friends!), and will never be 100% wrinkle free.
-
Lastly, don’t fall into the trap of thinking it’s “only you.” I could hire you all a personal tailor if I had a dime for every time I heard someone say “my body is just so weird!”. Your body is just right. It’s your clothes that need work. And nobody, NOBODY, makes it through a me-made wardrobe without making (or needing to make) one or more of the adjustments listed above. It’s up to genetics which we’re assigned!
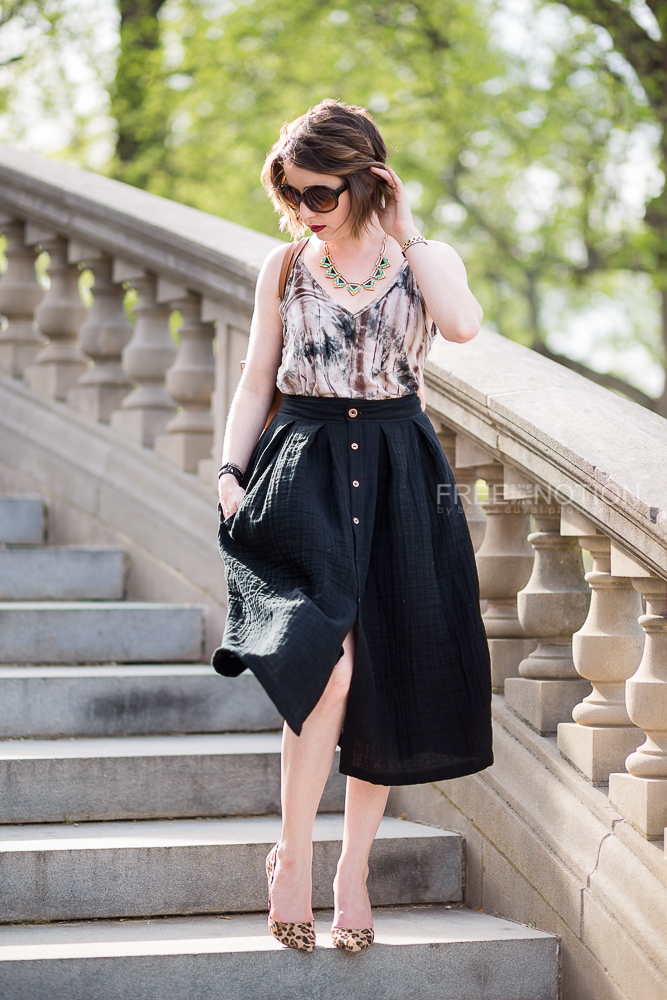
That was a pretty dense post – and I surely hope I haven’t scared you away! It’s a lot to take in, but it’s made such an impact in how I sew, and how I feel about this body I live in. I can only hope these photos of my (modified button-down) Wedgwood skirt serve as motivation to start nailing your own custom fitting project. Until next time!!
XOXO, Becca


Gorgeous! And great tips! When I started sewing custom, I shared size charts with my customers; now, I require their measurements for precisely the reasons you listed. Fitting each part of the body is such an art!
Such a great post Becca. You are looking super chic in your outfit