Over the last few years I have witnessed some amazing leather projects from fellow sewers and bloggers, but to actually sew with leather myself always seemed beyond my ability. It wasn’t until I saw the post back in December by Allie over at Indiesew on her version of the Senna Tote with a leather bottom and straps. And for the first time I thought that maybe I could actually do that.
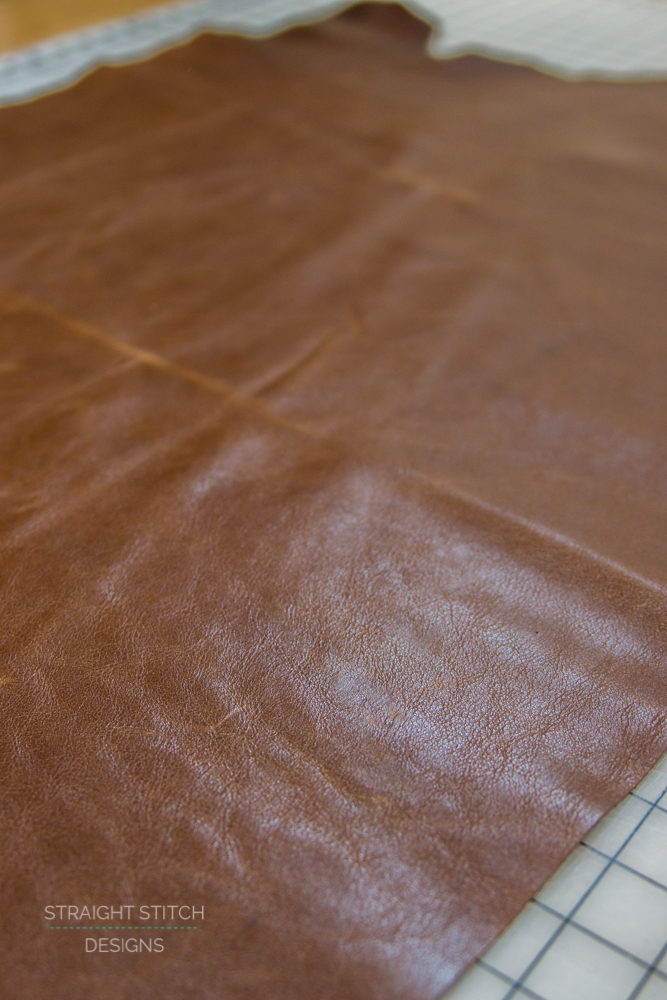
I began my hunt for leather at The Leather Hide Store since that seemed to be all over the blogosphere as a great place for leathers. The great part about this company is that they have a remnant section to their website with really clear pictures and measurements so you can get a piece that will work for your project without spending a fortune. The amazing people at The Leather Hide Store then provided me with the softest brown leather I have ever seen! Seriously I was beyond excited when they agreed to work with me on this project. I hope to show you that with your basic sewing machine and a few different supplies you can also work with leather.
The timing for all of this couldn’t be more perfect because just after the leather arrived at my house, I agreed to sew up a sample of the Urban Outlook Tote by Lindsey Rae of Sew to Grow for the Indiesew website. While I was nervous for my first leather sewing project to be shown to everyone on Indiesew I was confident that if I took my time the end result would be great.
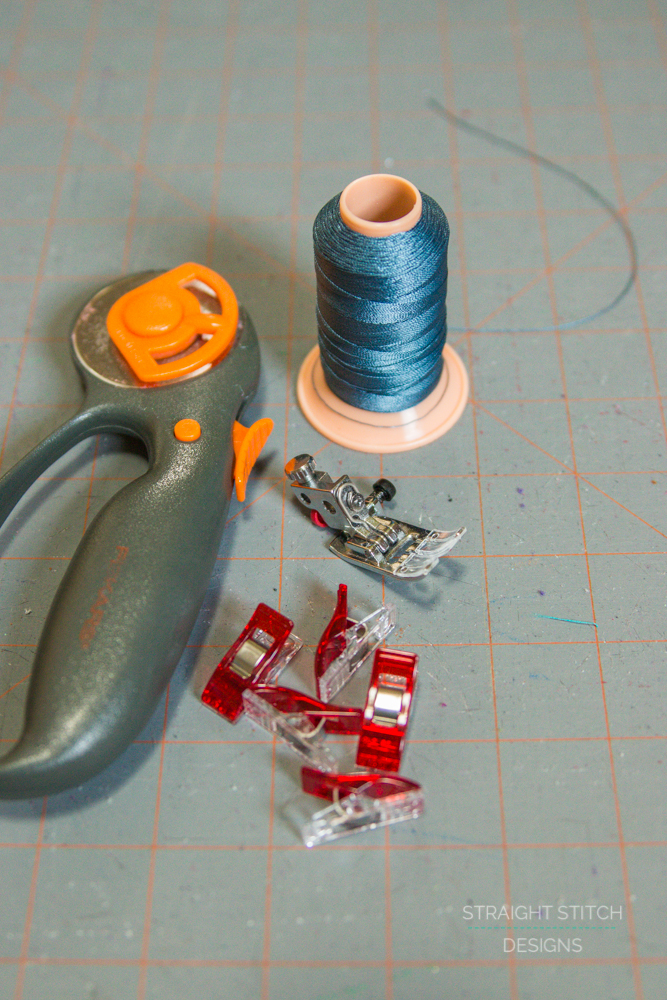
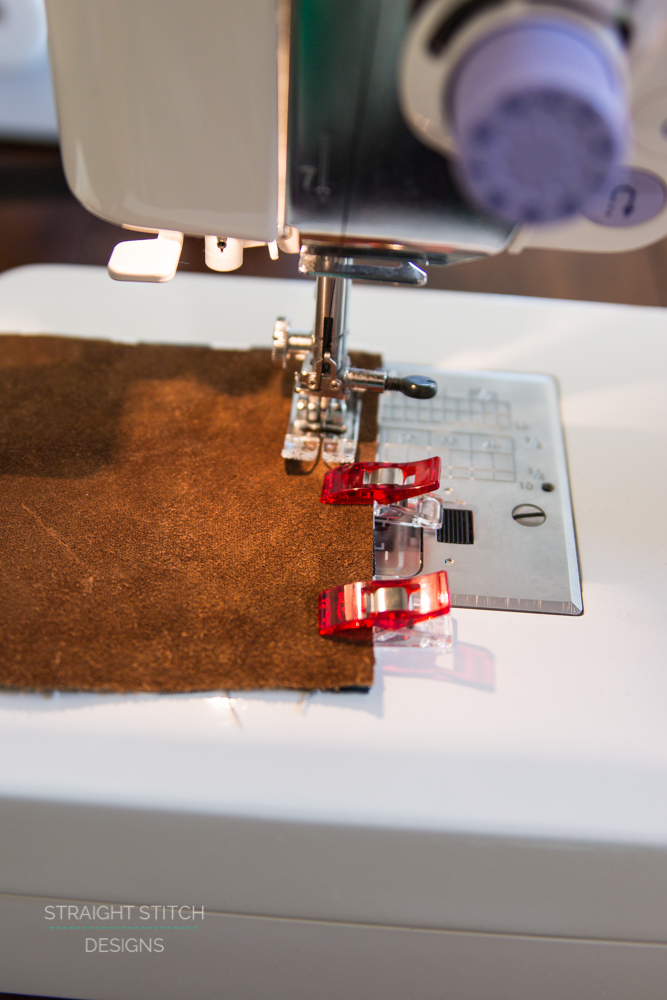
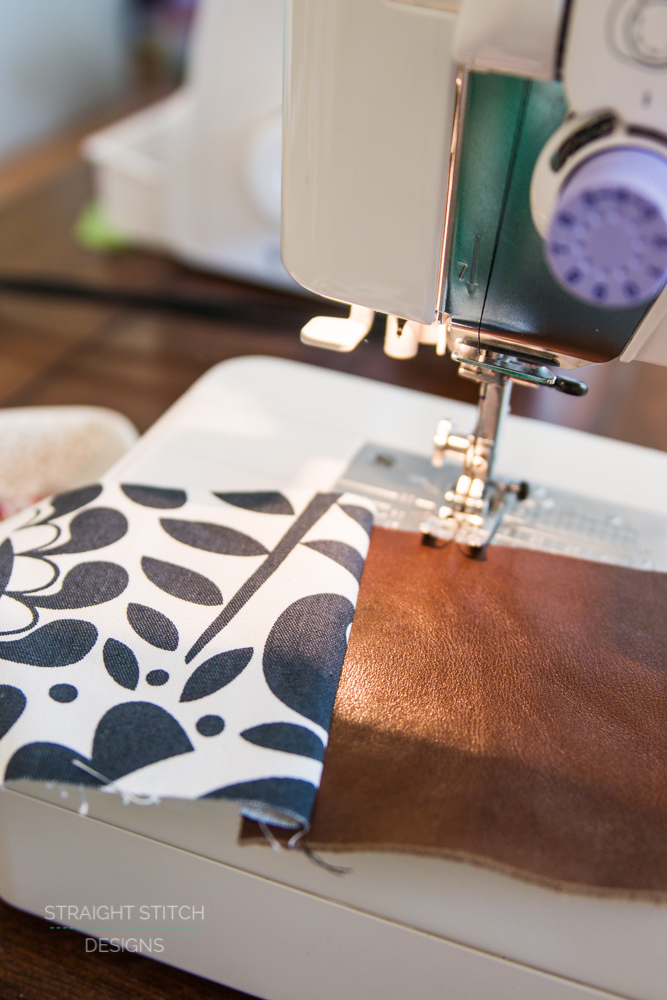
Lets get started with the basics of working with leather. The main thing to remember when working with leather is that you cannot use pins, once a hole is in the leather it doesn’t recover like fabric does so you will have the hole for good. The best thing I found to use when working with leather are Clover Wonder Clips (affiliate link), they hold everything in place without marking up your leather. You will also find that your regular presser foot might make it more difficult to sew the leather so you have a couple options. I used a walking foot, mostly because I already had one so it saved me from having to buy something new, you could also use a teflon foot. The main thing to remember is that you need something that is going to glide along the leather and not get stuck. The last thing you will want is upholstery thread, I will explain further down some issues I had with the thread.
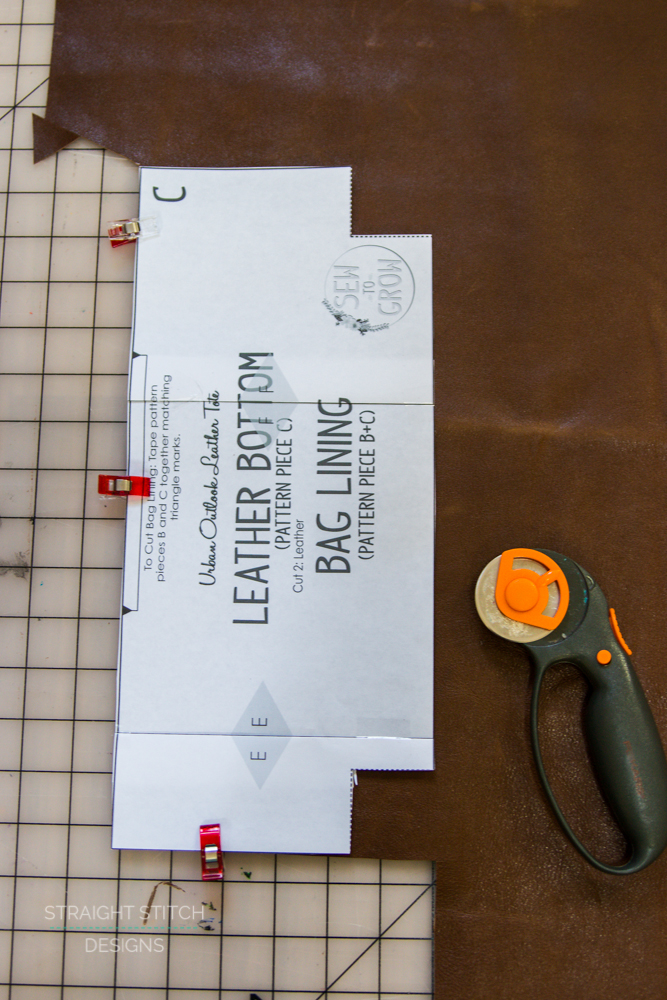
When cutting through the leather I found a rotary cutter with a fresh blade to work perfectly. You can see here how I secured the pattern piece to the leather before cutting. Since I couldn’t use the clips on the other side I just used my hand to hold the pattern piece in place while cutting. Using pattern weights works just as well, or even whatever is within reach of your cutting table. It’s not uncommon to find me using toys or my water glass to hold a pattern piece in place.
Since this was the first time ever sewing with leather I thought it would be a good idea to do a little test sewing. I wanted to make any adjustments to stitch length and practice with the walking foot since this was also the first time using one. It was definitely a project of first.
Everything started out great, my samples were perfect and everything seemed to really come together as it should. I definitely had confidence going into the actual bag, and the leather perfectly complimented the blue and white canvas fabric I had for the main bag.
Here is where I get really honest with you about the thread portion of this pattern, I struggled like crazy to get the upholstery thread to work. Maybe it was me and maybe it was my machine but whatever it was the thread just wanted to shred itself. So I went ahead and put regular thread back into my machine and moved forward. I am aware that it probably won’t hold up as well as the upholstery thread would but considering the fact that I didn’t have any issues going forward I was willing to take that risk.
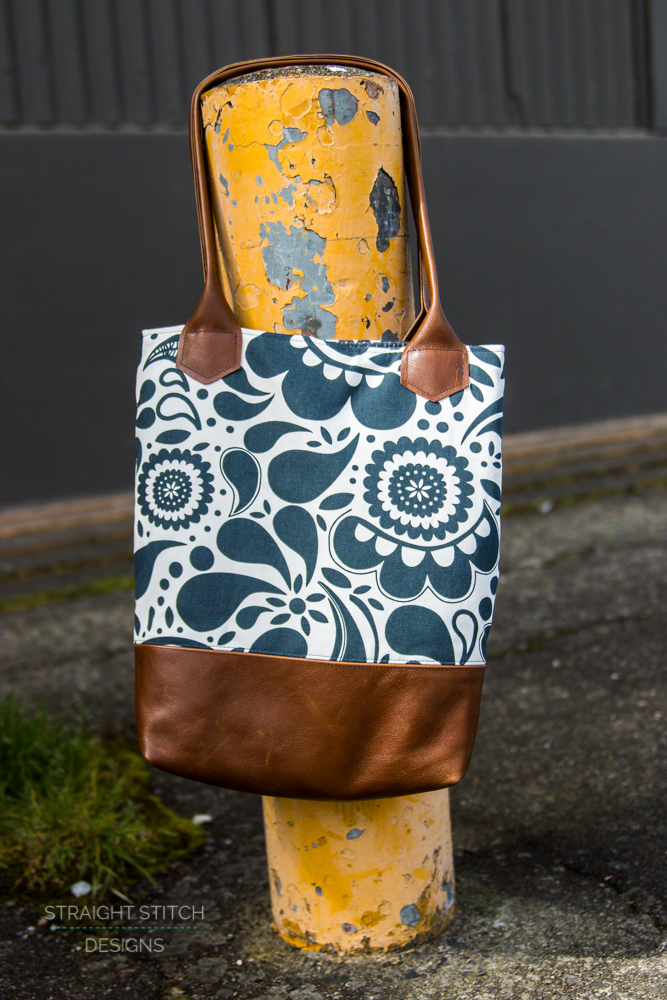
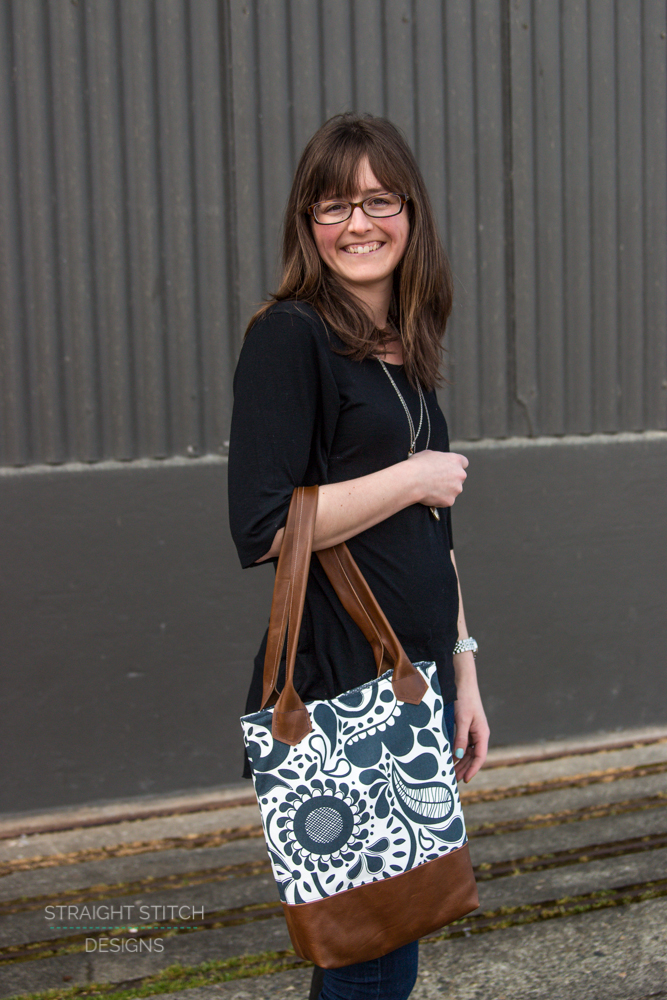
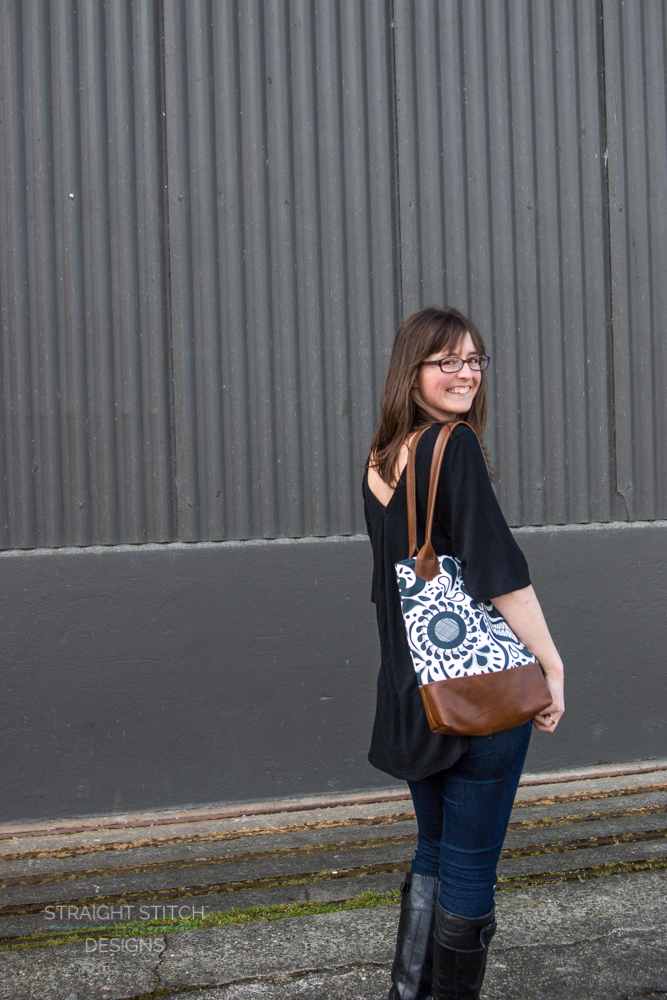
Check out my new leather tote!
If the only issue I had with my first time sewing leather is a few hiccups with thread I call this sewing project a success! The best part is that now I have no fear working with leather and I am determined to do a few more projects to see if I can work out the thread issue I was having. Who knows it was probably user error 🙂
This tote is the perfect size for every day use. Now that I have two kids out of diapers!! I don’t need such a giant purse to fill with things, if you are a parent you know exactly what I am talking about when I say things.
The inside has 3 pockets which are the perfect size for your phone and other odds and ends and a large enough open space for everything else you need to carry around, see my statement above. The straps are the perfect length for throwing it over your shoulder to head out the door.
I hope this post has helped you see that it really doesn’t take much to work with leather. I promise you with a few tools and your basic sewing machine you can also walk away from your first leather project patting yourself on the back and showing what you made with pride. It is really that easy.


Hey There Kim,
Thank you so much for testing my design. Your bag turned out amazing!! I have taught this bag in workshops all over Australia and learned really quickly that most domestic machines hate the upholstery thread. I tell all my students to use a size 90 Leather Needle and a strong Polyester thread (Rasant) in their machines. That seems to do the trick and everyone’s bag turns out great. No troubles. 🙂 Just thought id let you know that it was the thread, not you. LOL!! Thanks again Kim for testing the pattern!!!
Lindsey, I can’t tell you how much that makes me happy to hear. I hated to think that my new sewing machine was not working correctly. Its a great bag and thank you for helping me conquer my leather fears which such a great pattern.
Found your blog via The Leather Hide Store FB – those clips look brilliant! I needed something like that this week to help me when I was sewing my leather pillow. Thanks!