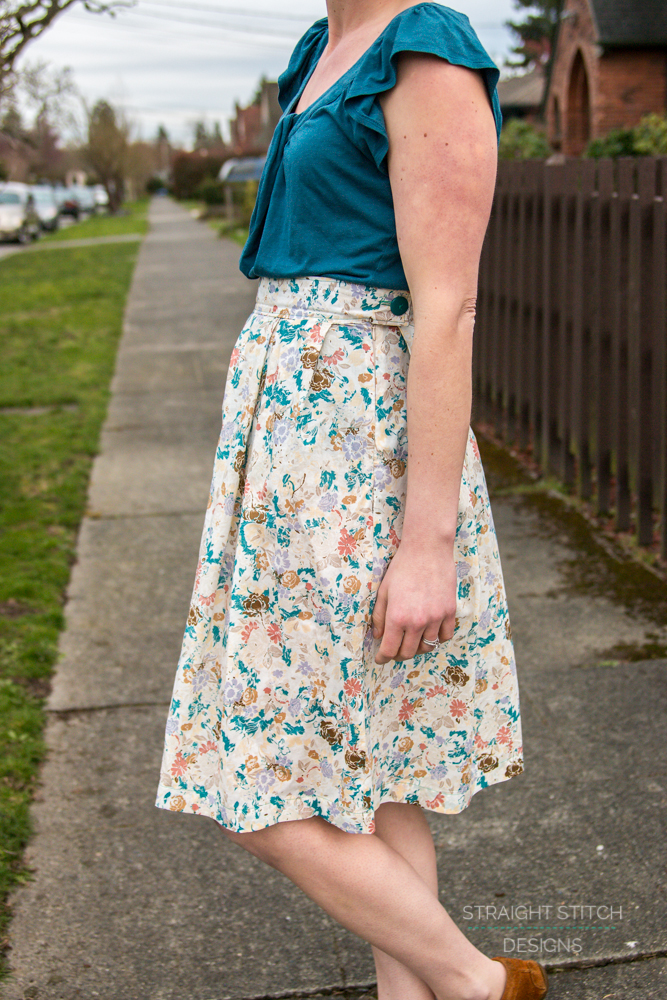
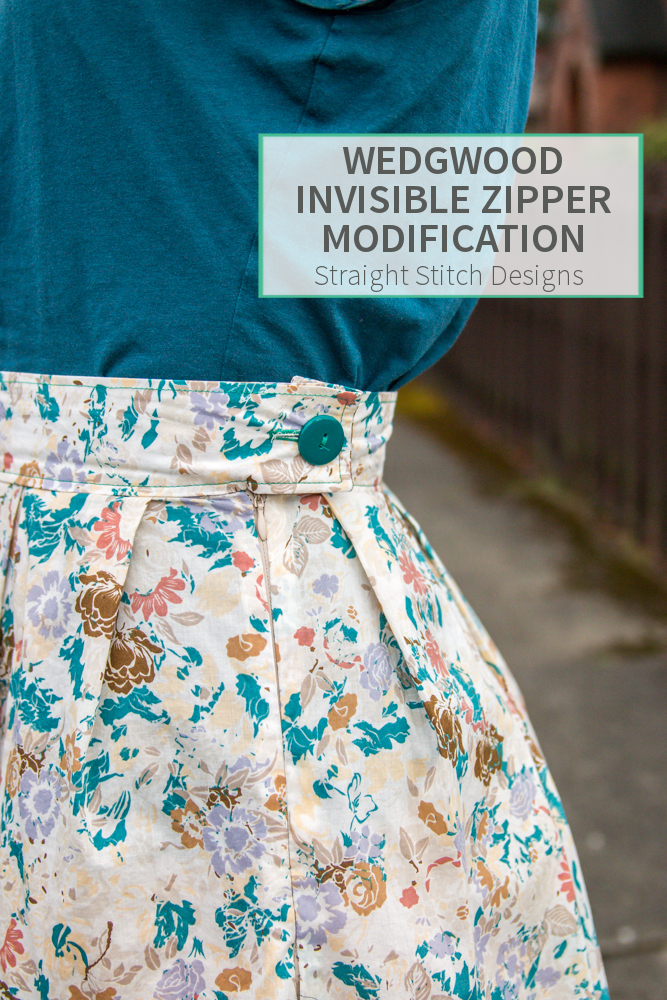
When I first gathered my testers together in the testing facebook group I knew ideas and suggestions were start flowing. This may make designers cringe but I love getting feedback from sewists on what they like and don’t like about a pattern, because they really do represent a great mix of the people that will eventually be buying the pattern. One of the first suggestions that started swirling around was the ability to modify the pattern to include an invisible zipper, while I think an exposed zipper is wonderful not everyone agrees. The idea stuck and so today I am sharing with you my Wedgwood invisible zipper modification.

To start you need to follow the instructions for marking and folding the pleats for the FRONT skirt piece. Because the zipper is now going to be on the side seam instead of at the center back you need to fold the pleats the same for both front and back skirt pieces according to the instructions for the FRONT skirt piece.
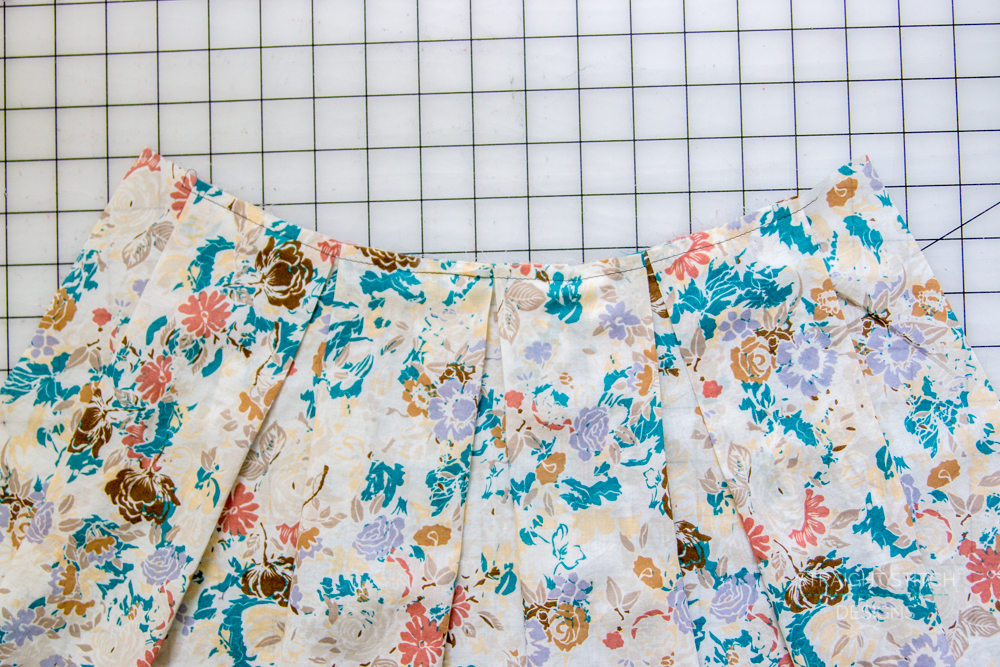
Once you have both your front and back skirt piece folded and basted the same you will be sewing right sides together with a 3/8″ seam allowance along one of the side seam, for this example I choose the right side.
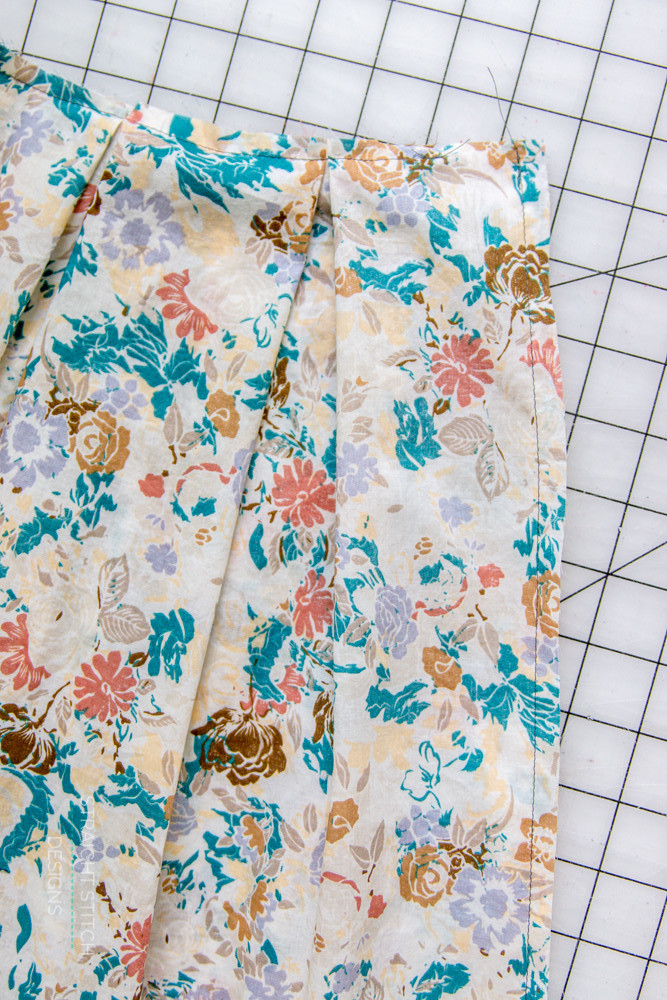
Moving to the side seam that you did not sew, we will add some interfacing to make installing the zipper easier. Cut two pieces of interfacing that are 1/2″ wide and the length of the zipper. Iron each piece along the side seam on the wrong side of the fabric for both the front and back piece of the skirt. You will line the interfacing up with the top and side of each piece.
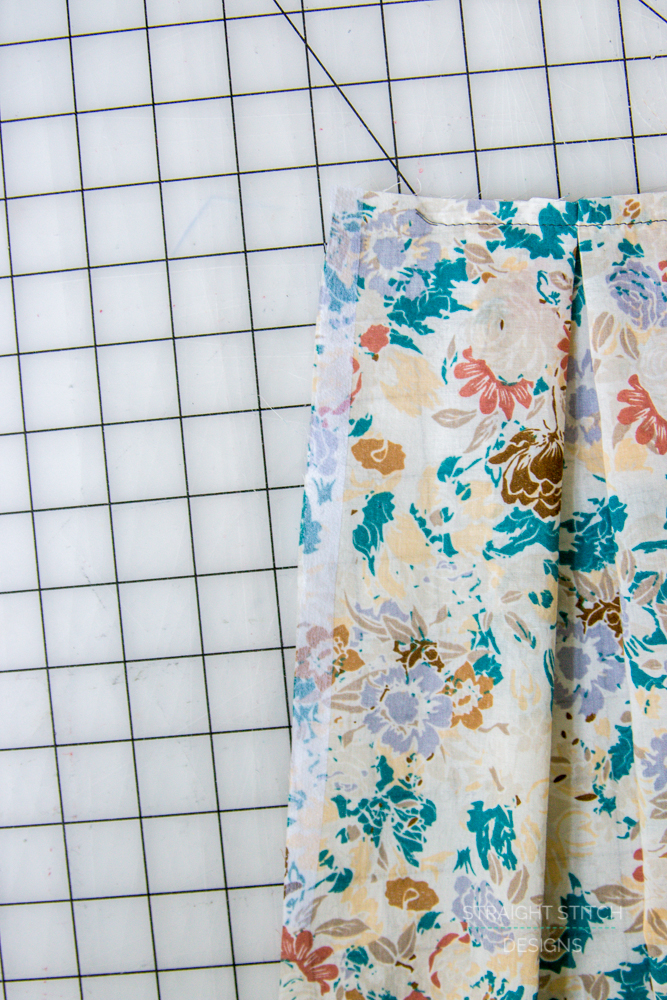
Take your zipper and lay the right side of the zipper on the right side of your skirt piece with the zipper stop 1/2″ below the top of the skirt. This means some of your zipper tape is going to hang over the top edge of your skirt. Pin in place the length of the zipper.
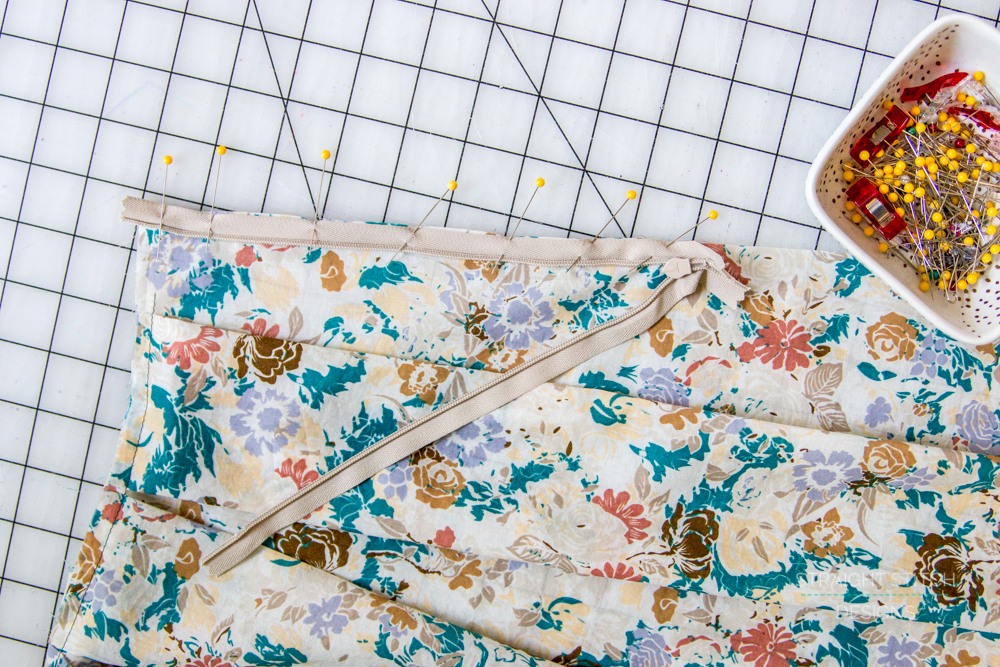
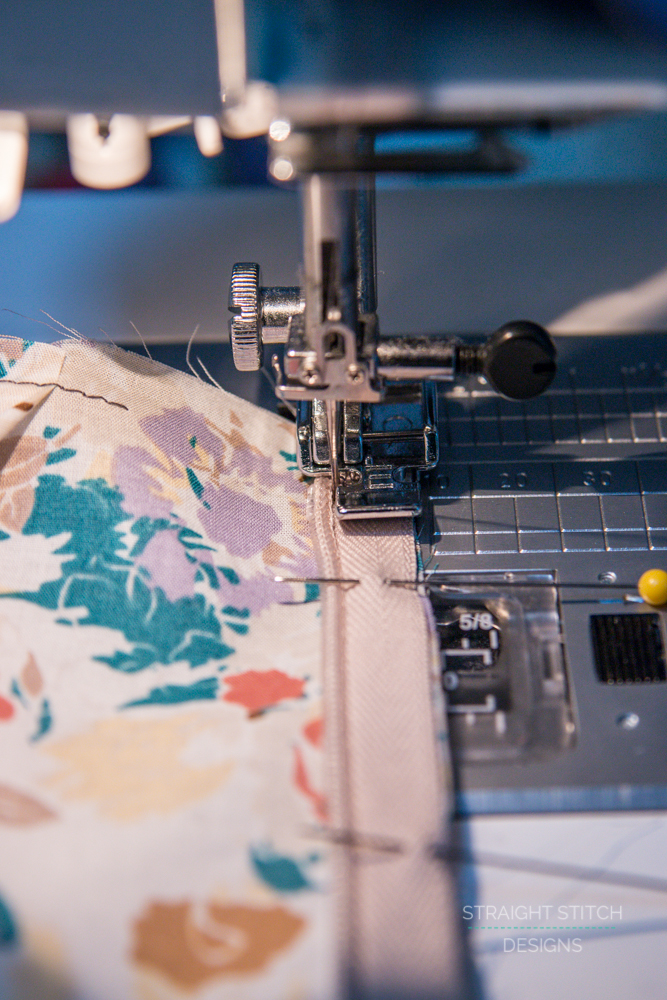
In order to get your sewing tight to the edge of the zipper teeth an invisible zipper foot is generally recommended. I actually don’t have one so I improvised. If you use your regular zipper foot and just move the needle to the left so that it is almost pushing the zipper teeth away it works just as well. Just make sure you sew slowly. Sew all the way down the zipper until you reach the zipper pull, or as close as you can get. Make sure to leave the zipper pull all the way down.
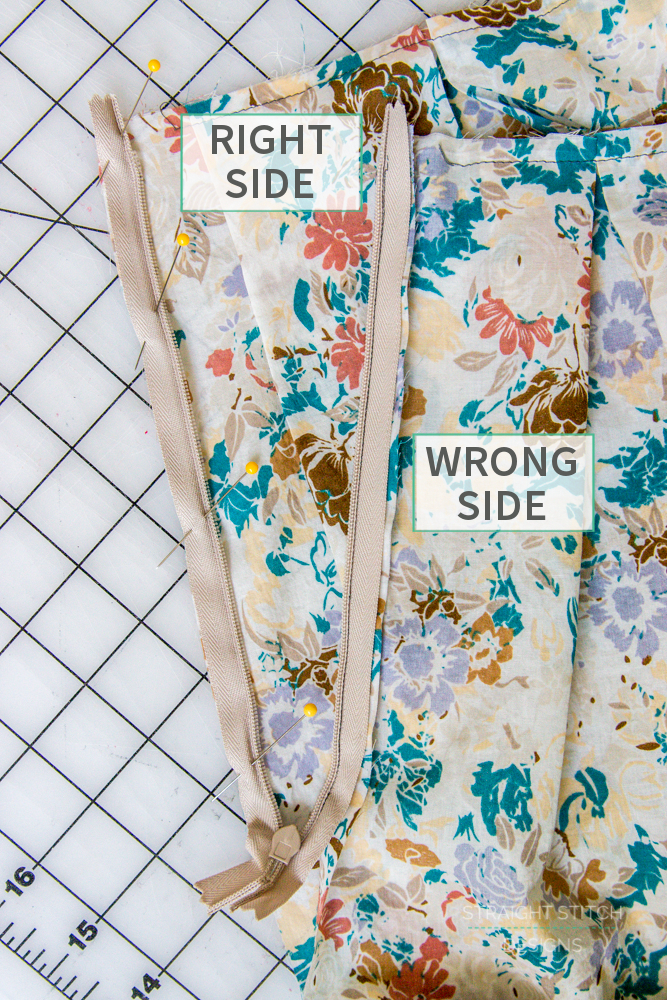
Now to sew the other side of the zipper. I realize now that I probably should have used a fabric that had a more clear wrong side to it, to help with that I have labeled the fabric for you.Lay the wrong side of your zipper on the right side of your fabric as pictured below. Pin in place and sew the zipper to your skirt the same as you did the other side.
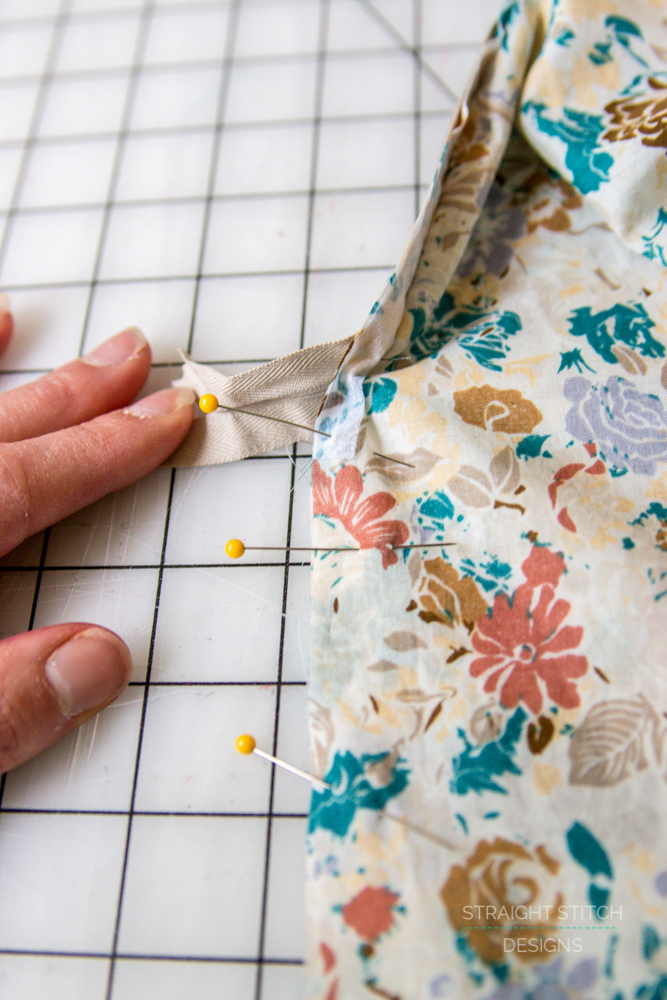
All that is left to do is sew down the rest of the side seam. With right sides together pin the rest of the side seam in place. When you start to sew just pull the rest of the zipper tail out of the way so you can sew as close to where you stopped sewing the zipper in place as possible. Sew all the way down the side seam.
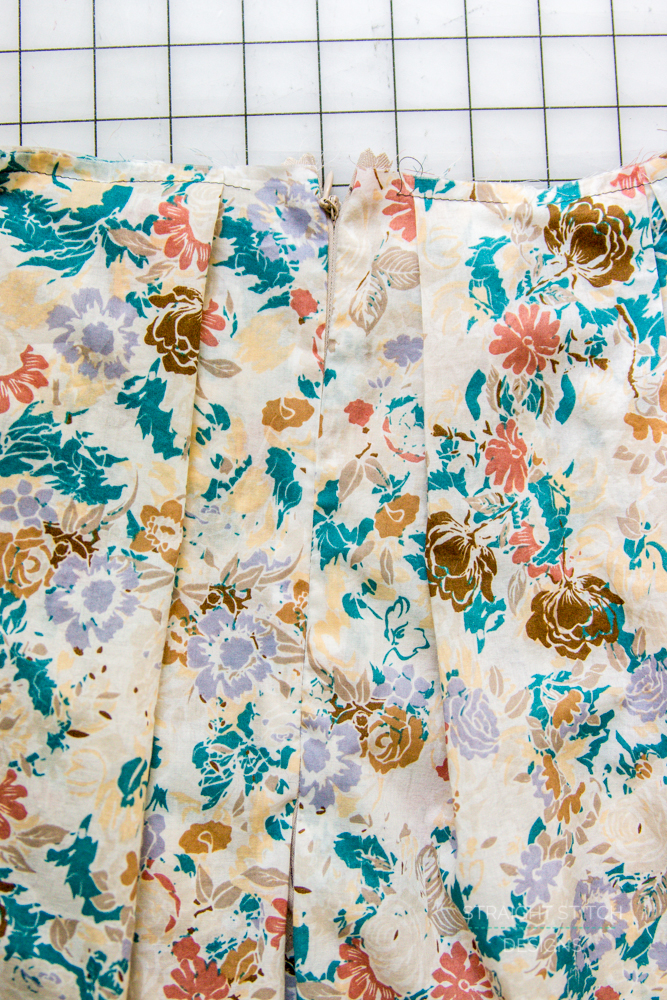
Zip it up and admire your wonderful looking invisible zipper. To finish off the skirt follow the instructions for sewing on the waistband as the pattern states.
Get your copy of the pattern shop.

Thanks – guess I am more of an invisible zipper girl – the exposed looks great on you “youngers”! Easy to follow tutorial – love that fabric!!
I love this tutorial. I am not a fan of exposed zippers either. Invisible is neat, clean, beautiful. Exposed zippers take me back to my 80’s jr. high days in home economics class where ALL of my zipper installs looked exposed!! Lol! Needless to say I did not pass on zipper installation, but who knew I’d be far ahead of my time in fashion! Lol 😂 (oooh, if Ms. Couch could see me now!)