The day is finally here and I couldn’t be more excited to share with you the pattern I have been working on thanks to the help of the always amazing Lauren Dahl and her course on Pattern Workshop (affiliate link). You can check out my review of the first half of her course here. I hope to have a review of the second half of the course in the next few weeks, but you know I actually have to finish the course first
I figured there wasn’t a better way to debut my first pattern on the blog than to offer it for free to all of you lovely readers. Doesn’t everyone love a free pattern, I know I sure do!
Sophie has always been my biggest cheerleader and advertising agent. She will tell anyone and everyone she sees that I made her shirt/dress/skirt. And she doesn’t just tell them she beams with pride every time she mentions it. Just yesterday while we were rushing from swimming to the store so we could get home for dinner she proclaimed from the backseat that she loved her new shirt. I am telling you I should pay this girl for the things she says.
So one day when she is all grown up she can look back and see that the very first pattern I created was in honour of her, my little Sophie Mae and her love of all things handmade and her pride in wearing mommy made clothes. I hope that love of handmade continues as she grows up. Maybe even soon she can begin creating her own clothes with me. Mommy/Daughter sewing team coming to the blog soon
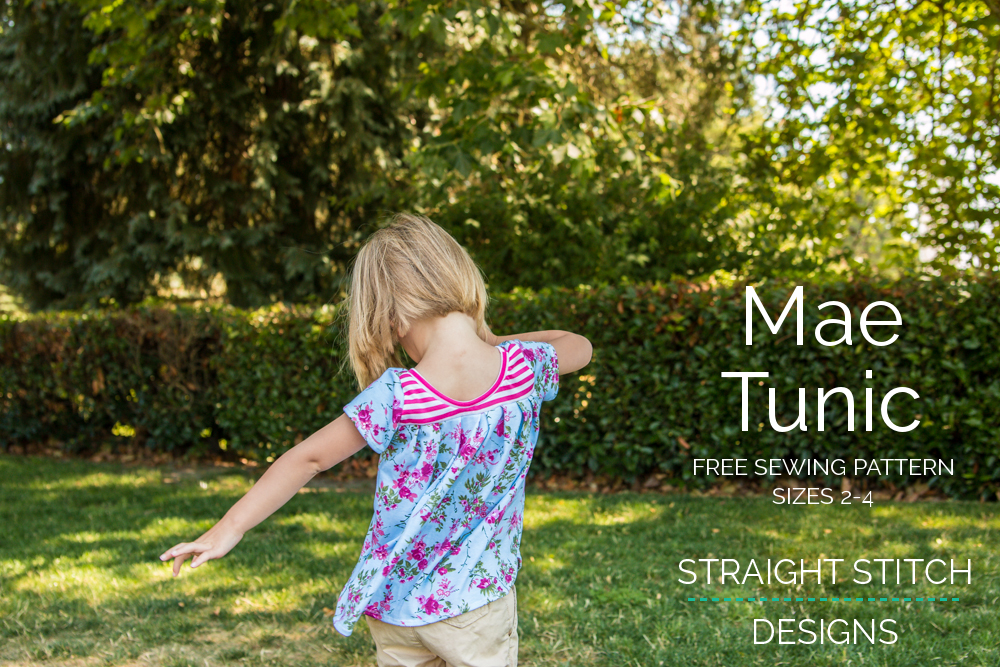
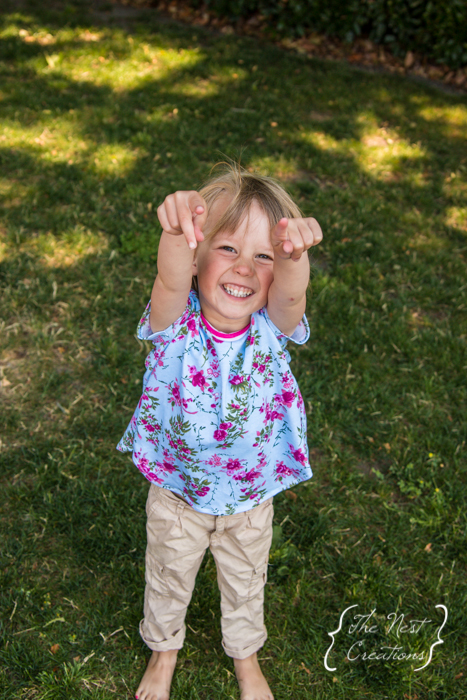
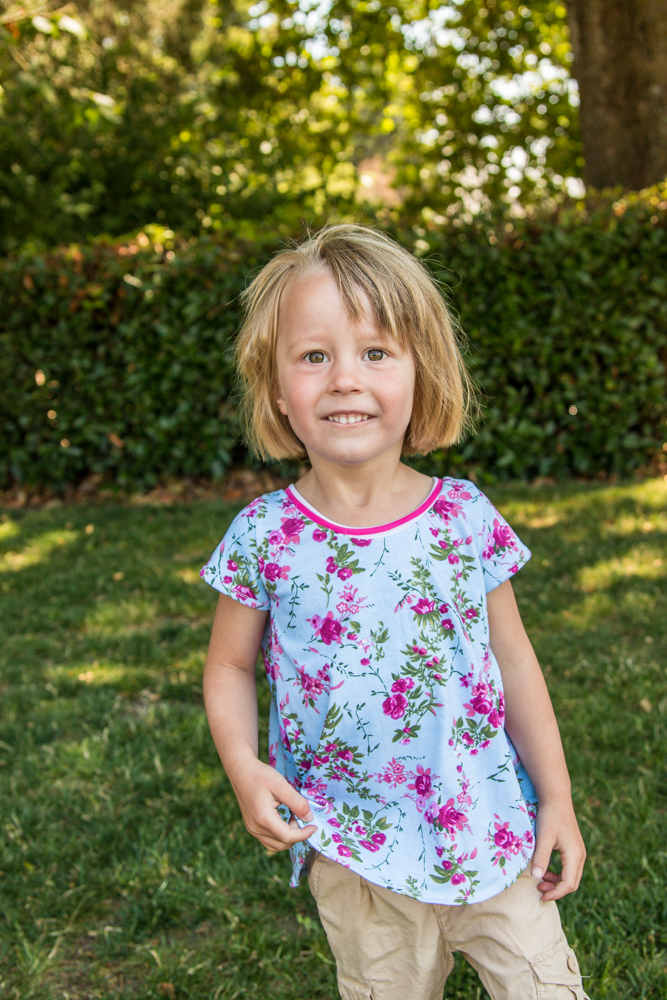
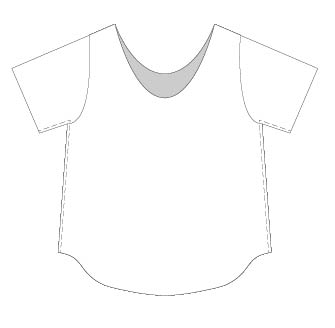
This shirt is designed to be a flowy relaxed tee with a wider neck and shirt tail hem. What sets this pattern apart from other tee patterns out there is the fun pleating detail on the back of the shirt. I know that pleating can be a bit intimidating so I hope you find my instructions and illustrations help take the fear out of pleating. You will be a pleating maniac when you are done, seriously I want to put pleats on everything now.
The most important thing about this shirt to me was that it allowed your child to be a child while wearing it, no fuss while still being cute. They can run and climb at the playground and spin to their hearts content and watch that shirt float around them.
If you are new to the blog you may not realize my love of pattern mixing, check out the sewing I did for myself mixing patterns here and here.
This shirt allows for doing just that. Why not do floral and stripes and while you are mixing patterns mix the fabric as well. This pattern works great for all types of knit from your lightweight jersey to cottom lycra and even hacci sweater knit. The purple top in the pictures above is a sweater knit and it worked amazingly well.
I think we have gone over everything you need to know to get started on your Mae Tunic
Oh one last thing, how about a little pre-sewing rundown of supplies first.
- 3/4 of a yard of knit fabric. As mentioned above it can be any type of knit you would like, just make sure the fabric you use for the neckband has enough stretch.
- Chalk, Fabric Marker or a sharpie if you are lazy like me
- Pins for keeping all those pleats in place
- Double Needle
- The other usual suspects; sewing machine, thread, scissors and tape.
Drum Roll Please…….
Once you click on the image above your pattern will open in another window. Hover over the bottom right corner and click on the image of the disk to save it to your computer. From there you can print it.
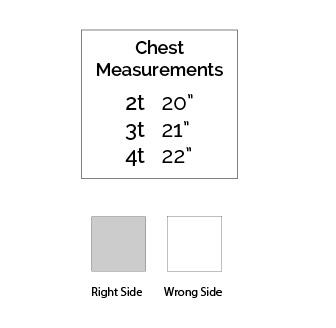
Last thing before we start sewing. The shirt is best made based on your childs chest measurement. The pattern is nested so if you need to cut out a 2T shirt but in a 3T length it is easy to make that adjustment. If your child is between sizes I recommend going up to the next size. Through out this tutorial the right side of the fabric will be shaded grey and the wrong side will be white.
Now to begin sewing:
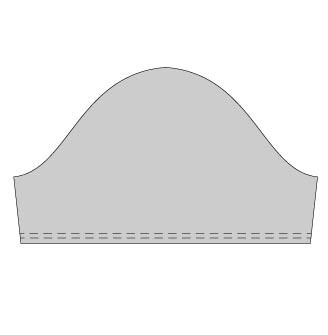
1. We are going to start by hemming the bottom edge of your sleeves. Fold under the bottom edge of the sleeve 3/8″ towards the wrong side of the fabric and sew down with a double needle. This can also be done with a zigzag stitch or coverstitch machine if you have one.
* To keep from having to change out your needles back to double needles at the end you can hem the bottom of both the front and back piece at this time as well.
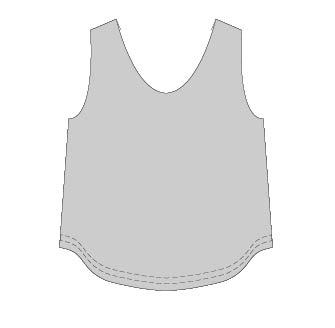
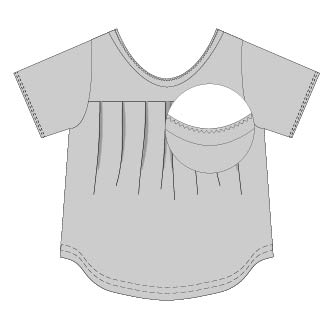
2. Take your back piece and transfer the lines from the pattern on the right side of the fabric. These are the lines you will use to create your pleating.
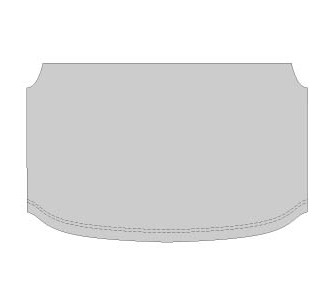
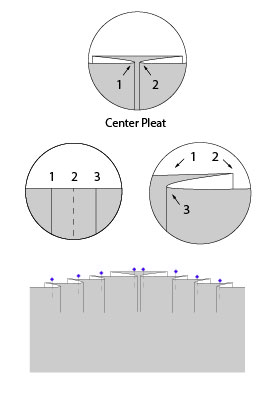
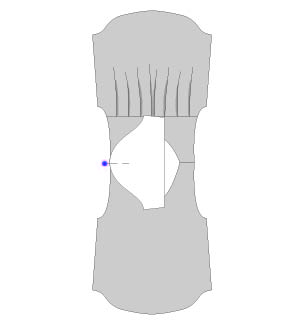
 3. Start at the center pleat by bringing the two center lines (which I have labelled 1 and 2 in the top diagram) together and distributing the fabric evenly behind it. Pin down both sides of the pleat.
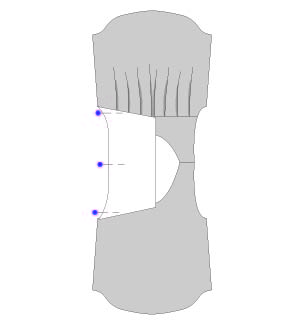
4. Work your way from the center to the outside using each set of 3 lines which I have labelled 1, 2 and 3 in the diagram below. Start by bringing lines 1 and 3 together and putting line 2 away from the center. This leaves you with pleats moving towards the center pleat from each side.
5. Once you have all of your pleats pinned down you need to run a basting stitch across the top of the pleats 1/4″ from the top to hold them in place before attaching the bodice piece.
6. With right sides together sew the back bodice piece to the back piece using a zigzag stitch or serger.
7. Take the front and back pieces right sides together matching at the shoulders and sew together using a zigzag stitch or serger.
Lets add the sleeves.
8. Take your sleeve piece and with ride sides together matching the top center of the sleeve with the shoulder seam you just sewed and pin in place.
9. Carefully pin the rest of the sleeve to the shirt starting at the outside edges. Sew sleeve to shirt with either a zigzag stitch or serger. Repeat for other sleeve.
10. With right sides together sew side seams together starting at the sleeves and go down the sides. Repeat for other side.
The next few steps will finish off the neckband.
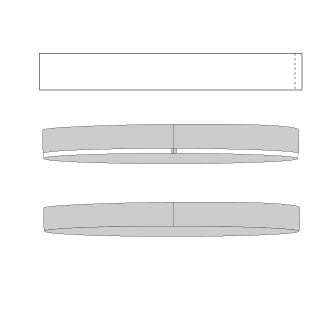
11. Take your neckband piece and fold in half right sides together matching short ends. Fold in half lengthwise with wrong sides together. You should have a complete circle that has the right side of fabric out.
*For a little added ease in attaching the neckband to the shirt you can press the neckband piece.
12. Take your shirt and flip it right side out. Line up the two raw edges of the neckband you just created with the raw edge of the neck on the shirt. I find it best to pin the neckband down in 4 places equally around the shirt to have equal stretching of the neckband to fit. Start by lining up the seam of the neckband with the middle of the back of the shirt. Then pin at the front and both sides.
13. Sew all the way around the neckband with either a zigzag stitch or by using a serger.
14. Congratulations you have now completed your Mae Tunic.
I hope you have enjoyed making your very own Mae Tunic, I would love to see what you have created. Please share them using #maetunic and tag me in the picture, you can find me on instagram @thenestcreations







Wow. Congrats for your first pattern. I’ll link to it in one if my next weekend sewing posts. Hopefully some germans will come to your blog then….
Thanks you so much Annika!
Super cute. Sophie is definitely proud of her clothes. Congratulations. Wish I had time to sew one – maybe by the time S is wearing 2T.
Super cute top! I can’t wait to make them for my nieces. Great free pattern. Love it.
Thank you so much Jennifer, I can’t wait to see what you make.
Thank you so much Jennifer, I can’t wait to see what you make. Please tag me if you post to Instagram so I can see!
Adorable! I’ve pinned it to my sewing to-do list I’ll be making one for my little one very soon!
Hooray! I really hope you like it. Can’t wait to see what you make. Be sure to tag me when you do
So exciting Kimberly! Congratulations! I love the top, the design is adorable. I think I have the same floral fabric arriving on my doorstep today and I’ll be using it for my next pattern too, lol! Love your illustrations and use of clipping masks too ;).
Don’t you just love Girl Charlee! My husband has put a hold on future orders until I use up the stuff I already have
I may have gotten a little clipping mask happy but they are just so fun to do!
Woohoo! Congratulations!
Thank you so much Tasha!
Congrats Kimberly for your pattern. looks great and so does the tutorial… Amazing job!
Hugs from Italy,
Irene
SergerPepper.com
That means a lot Irene. It is really scary to put it out there for the world to see. But at some point you have to and hope that people like it.
Thank you so much! And congrats for your release!
Thank you Melanie! I hope you like the pattern and I look forward to seeing what you create with it.
Thanks for the free pattern, it looks great!
Can’t wait to see your cute little girls in this top. Make sure to tag when you sew it up!
Beautiful design I can’t wait to give it a try!
Thank you so much, can’t wait to see what you make with it, you always do such beautiful stuff.
Love the pleats and the curved hem! I want yo make one for my grand daughter for sure! Thanks for such a sweet pattern.
Corinnea I am so glad you like the pleats and curved hem, it is definitely a fun detail for the top. I am sure your grand daughter is going to look adorable in it. Can’t wait to see what you sew up.
Thank you for this free pattern and tutorial. The little shirt turned out perfectly. I am very pleased with the style and the ease of sewing. I was looking for a go to knit shirt for my 2 year old granddaughter and this fits the bill. Better than a name brand pattern I bought( the company will remain nameless) whose neck did not even fit over her head. Big disappointment and loss of precious dollars! You have created a winner!
What sweet things to say, I really appreciate it. This was the first pdf pattern I created and have learned a lot from the process, but it makes me smile very huge to know just how much you like it. I would love to see pictures of your top.
It is on my Pinterest board under sewing
Please help, i have 3 extra pieces that i have no idea where they go on the pattern. What i have laid out looks correct, but there are 3 weird pieces that i cant figure where to put them. There is no indication on your pattern as to what lines up where, and it is very confusing. I want to make this so bad!
Just sent you an email with a picture of how the pages should go together. But that actually may not be your question. Can you reply to my email with more specifics so I can help you.
My neckline ended up way larger than shown (I’m sure due to an error of mine). Any idea what I’ve done wrong?